Introduction
Ready to supercharge your MacBook’s performance? Switching from an HDD to an SSD can drastically improve your device’s speed and reliability. This guide delivers a detailed walkthrough on transitioning from an HDD to an SSD, ensuring a smooth upgrade without data loss. Dive into the benefits and steps involved in this essential upgrade.
Why Upgrade to an SSD?
Upgrading to an SSD isn’t just a performance boost; it’s a game changer. SSDs offer faster data processing, boot times, and application loading speeds. Their absence of moving parts significantly reduces the risk of mechanical failure, pulling your MacBook into a new era of enhanced durability and reliability. As a result, SSDs not only make your existing setup faster but also improve your device’s longevity, making the transition a worthwhile investment.
Understanding Cloning: Key Concepts
What is Disk Cloning?
Disk cloning involves creating a carbon copy of your existing HDD onto an SSD. This process is invaluable because it retains every file, application, and personal setting, presenting a mirrored image of your system. You can ensure nothing is left behind with dedicated software handling this task, creating an exact duplicate of your hard drive on your new SSD.
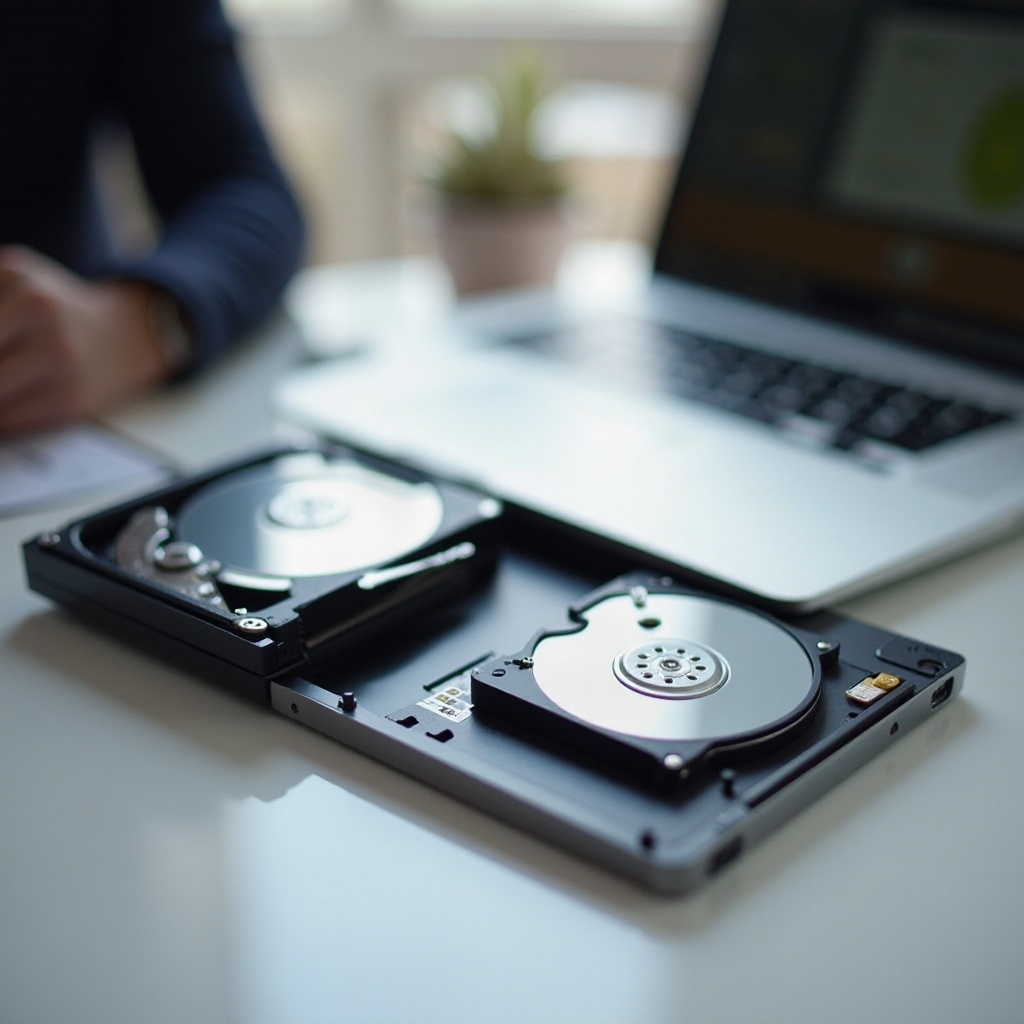
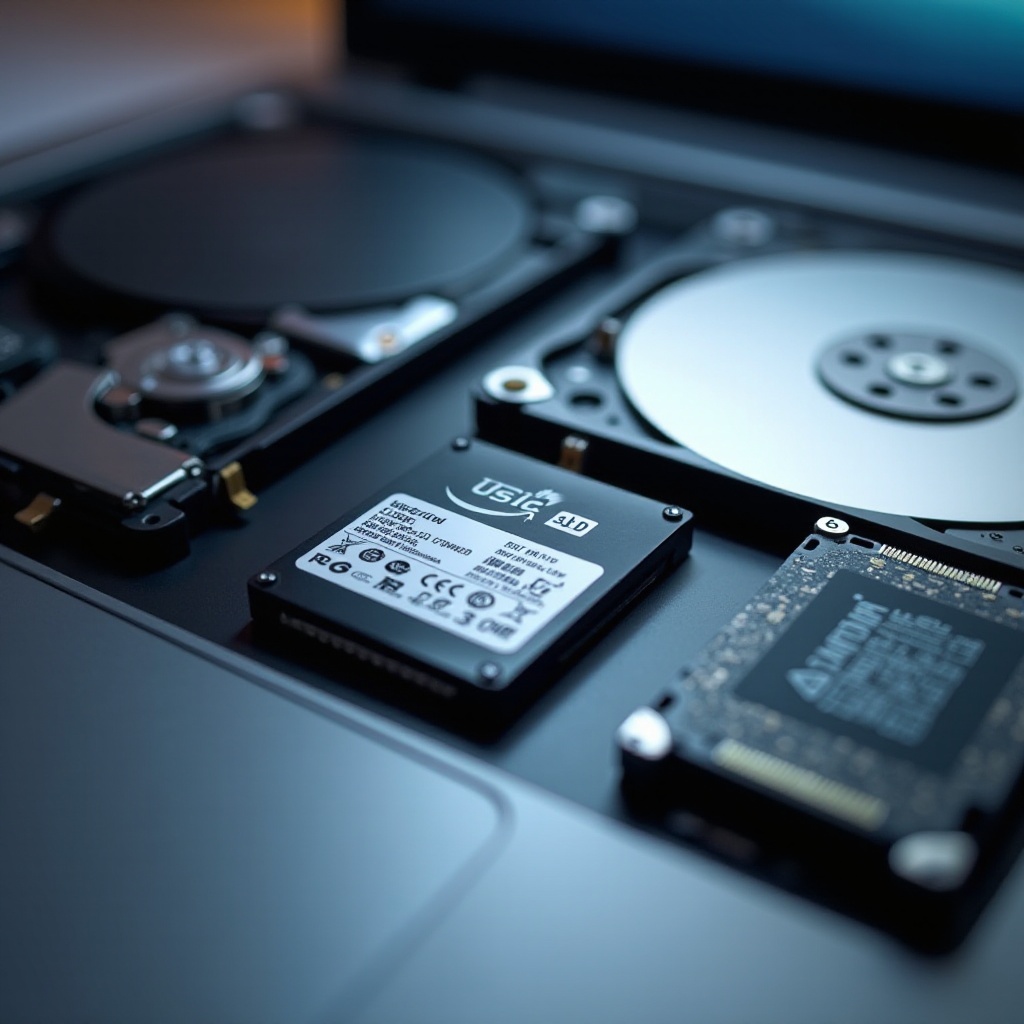
SSD vs. HDD: Why the Switch?
The shift from HDDs to SSDs is driven by the latter’s advanced technology. SSDs have no moving components, resulting in faster data retrieval and processing, reduced energy consumption, and increased system efficiency. These benefits translate into a smoother, faster user experience, turning routine tasks into seamless operations. By upgrading, you embrace the future of computing technology.
Preparing for the Clone
Thorough preparation is crucial for a hassle-free cloning process. Preparing your tools and data beforehand can significantly simplify the steps to follow.
Backing Up Your Data
Safeguard your valuable information by backing it up. Achieve security and peace of mind by using these methods:
- Employ an external hard drive to store backups physically.
- Use a trusted cloud service for accessible, secure backups.
- Verify that all critical files and applications are included and up-to-date.
Gather Your Tools and Software
To execute the cloning successfully, gather the following essentials:
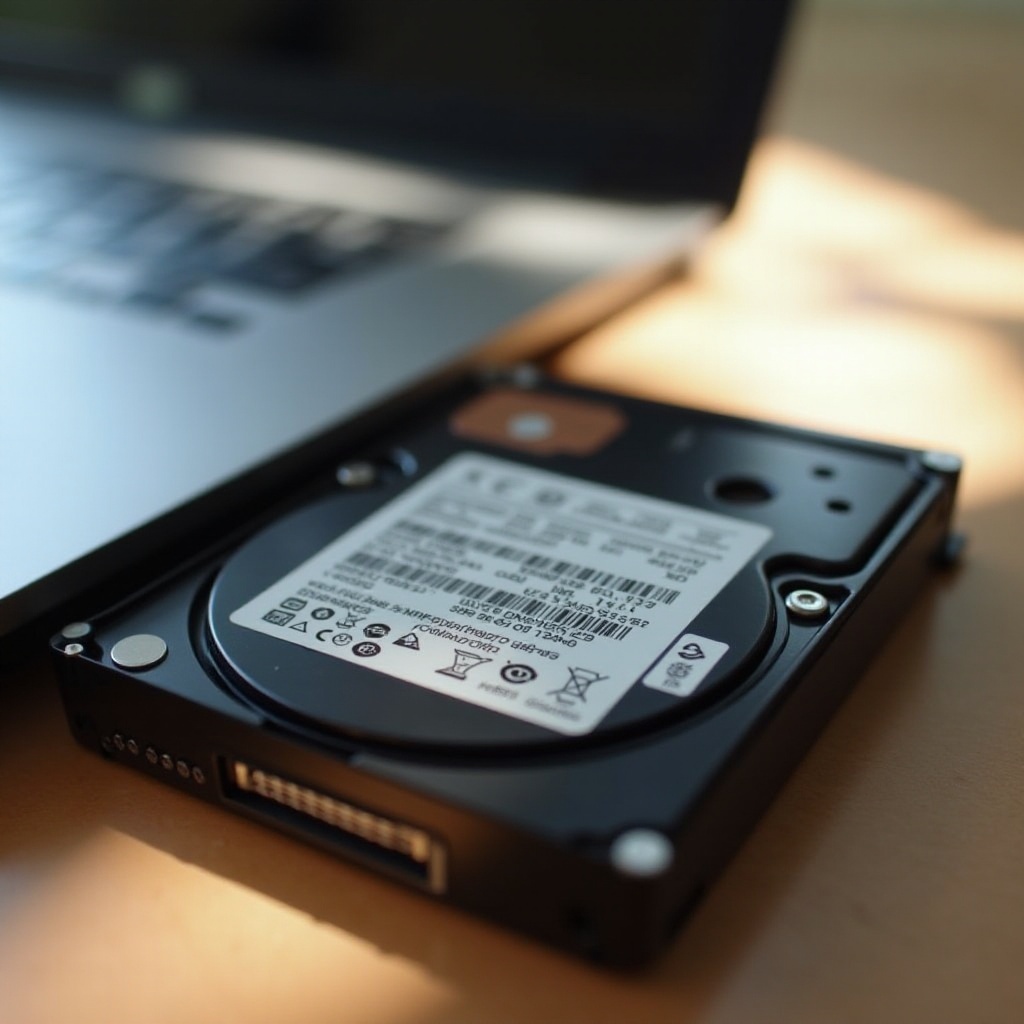
- External Enclosure or SATA to USB Cable: Facilitates connecting the SSD to your MacBook.
- Cloning Software: Choose user-friendly applications tailored for macOS, like Carbon Copy Cloner or SuperDuper!, to facilitate the transition.
Setting Up Your Workspace
Established comfort and minimal distractions set the foundation for smooth cloning:
- Organize a neat, spacious workspace to accommodate all tools.
- Ensure a stable power supply to avoid disruptions during the process.
Step-by-Step: Cloning Your MacBook HDD to SSD
Now, let’s delve into the intricate steps involved in cloning your MacBook HDD to an SSD.
Choosing the Right Cloning Software
Opt for reliable cloning software to avoid complications. Consider the following options:
- Carbon Copy Cloner (CCC): Simple, effective, and designed to mirror your macOS environment.
- SuperDuper!: Offers advanced features for meticulous cloning without compromising user experience.
Initiating the Cloning Process
Follow these steps to begin the process:
- Connect the SSD to your MacBook using the external enclosure.
- Open your selected cloning software.
- Designate your current HDD to be the source and the new SSD as the destination.
- Start the cloning process. Vigilantly monitor progress, addressing any prompts or error messages quickly.
Monitoring and Completing the Clone
Keep a close watch on the progress bar to ensure unhindered cloning. Once the process concludes:
- Safely eject your SSD.
- Perform a quick check to verify that all files and applications have successfully transferred and are operational.
Post-Clone Tasks
Completing the cloning is only part of the journey. There are follow-up steps to fully integrate your SSD.
Verifying Your SSD Clone
Ensure your SSD works as expected with these steps:
- Shut down your MacBook and connect your SSD.
- Restart your MacBook, holding the Option key to bring up the boot menu.
- Choose the SSD and verify that the startup completes successfully. All applications and functions should run smoothly and faster.
Replacing the HDD with Your New SSD
Finalize the upgrade by replacing the old hardware:
- Power down your MacBook and remove any connected devices.
- Carefully replace the HDD with the cloned SSD following your MacBook’s model guide.
- Reassemble and power on your MacBook, ensuring all components fit securely.
Conclusion
An upgrade from HDD to SSD catalyses speed and efficiency, setting a new standard for your MacBook’s performance. This transition offers sustained long-term benefits, enhancing both functionality and durability of your setup. With the proper steps, your MacBook will not only meet but perhaps exceed your operational needs.
Frequently Asked Questions
What if the cloned SSD does not boot?
Restart MacBook with Option key pressed. Ensure SSD is selected as startup disk in System Preferences.
Can I clone my HDD while it’s still in use?
It’s best to clone while the HDD is not in use to prevent data issues. Booting from an external drive or safe mode can help.
How do I maintain my SSD for optimal performance?
Keep your macOS and apps updated, ensure sufficient free space, and avoid unnecessary writes for efficient SSD performance.