Introduction
Transitioning to a new iPhone can be exhilarating, yet the thought of moving crucial photos from your old device might seem daunting. Photos encapsulate memories and milestones, thus transferring them safely is of utmost importance. Thankfully, there are various methods, thanks to Apple, to facilitate effective photo transfers across devices. In this comprehensive guide, we’ll delve into several methods to help transfer your pictures between iPhones with ease. We’ll cover techniques involving iCloud, AirDrop, iTunes, and third-party applications, each offering unique benefits to cater to varied requirements. This guide aims to help make your photo transfer process seamless and worry-free. Let’s explore these strategies in detail to enhance your experience.

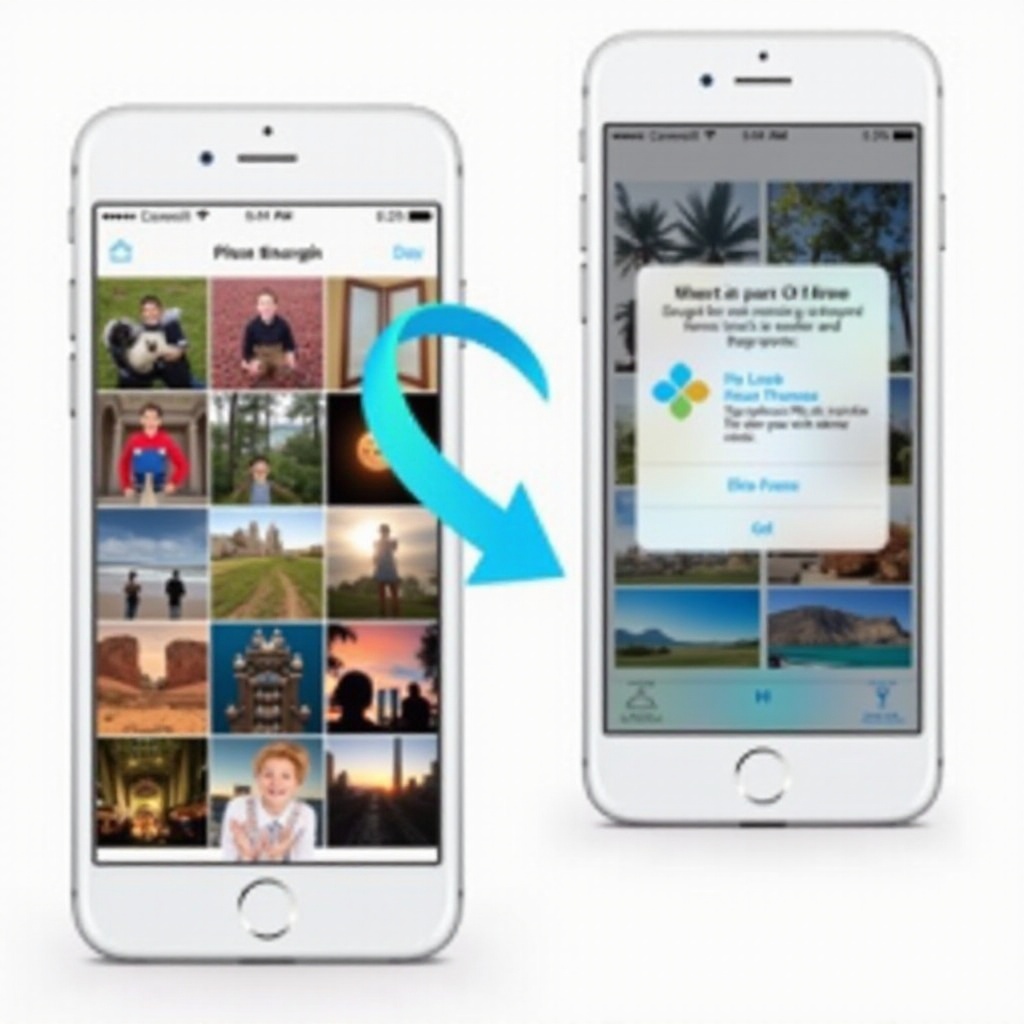
Method 1: Transfer Photos Using iCloud
One of the most convenient methods to transfer your photos between iPhones involves using iCloud. As a wireless option, it relies solely on a stable internet connection, making the process smooth and trouble-free.
-
Ensure iCloud Photos are Enabled: Start by ensuring iCloud Photos is activated on your old iPhone. Navigate to Settings, tap your name, access iCloud, and then Photos. Verify that iCloud Photos is switched on, facilitating the synchronization with your iCloud account.
-
Connect to Wi-Fi: For effective uploading of your photos, connect your device to a Wi-Fi network, helping avoid unnecessary data charges.
-
Verify iCloud Backup: In your Settings, tap on your name and proceed to iCloud, then iCloud Backup. Initiate the backup by selecting Back Up Now, ensuring you wait until the operation completes.
-
Set Up New iPhone: Power up your new iPhone. Choose Restore from iCloud Backup during setup. Sign in with your Apple ID and opt for the latest backup. Soon, your photos will be readily available on your new device.
By leveraging iCloud, you not only ensure their safety but also the luxury of accessing your photos from any Apple device. Managing them becomes easier with the inherent Apple functionalities once synchronized.
Method 2: Use AirDrop for Quick Photo Sharing
For those who prefer a speedy, wireless transfer devoid of internet dependence, AirDrop comes in handy. It enables seamless file transfers between Apple devices using both Bluetooth and Wi-Fi.
-
Enable AirDrop on Both Devices: On each iPhone, access the Control Center by swiping down from the upper-right corner. Tap and hold the network settings card, then hit AirDrop and select ‘Everyone’ to make your device discoverable.
-
Open Photos App: On your source iPhone, open the Photos app and select the images to be transferred.
-
Tap Share Icon: Tap the Share icon at the screen’s bottom-left once you’ve chosen the desired photos.
-
Choose Receiving Device: Locate and tap the target iPhone from the AirDrop section. Accept the transfer request on the receiving iPhone to begin transferring photos.
Ideal for small transfers, AirDrop provides a prompt and localized photo sharing solution. Keep in mind, its efficacy may depend on proximity and the number of images being shared. For larger batches, consider other alternatives.
Connecting the Methods
While the aforementioned methods offer established approaches to photo transfers, choosing the right one depends on personal preferences and specific situations. Moving from a wireless choice like iCloud and AirDrop, let’s now explore wired methods that ensure comprehensive data transfer.
Method 3: Transfer Photos with iTunes or Finder
Opt for iTunes or Finder if you prefer the traditional way with a wired connection, especially for transferring multiple photos. Here’s a step-by-step approach:
-
Connect Old iPhone to Computer: Use a USB cable to link your old iPhone to your computer. Open iTunes (on Windows or macOS Mojave) or Finder (on macOS Catalina or newer).
-
Select Device: In iTunes or Finder, identify your device from the list subsequently displayed.
-
Backup iPhone: Select “Back Up Now” for a comprehensive device, including your photos, backup. Allow the process to finalize before proceeding.
-
Connect New iPhone: Post back up, disconnect the old iPhone and connect your new device to the computer.
-
Restore from Backup: In iTunes or Finder, select the new iPhone and opt for “Restore Backup.” Choose the appropriate backup then commence restoration, effectively transferring photos and other data.
Utilizing iTunes or Finder is beneficial for those more familiar with Apple’s network, ensuring their photos and other data are completely transferred.
Method 4: Employ Third-Party Apps for Transfers
Sometimes, Apple’s in-built solutions might not suit your tastes or requirements. This is where third-party applications come into play, often providing added features such as selective transfer abilities.
-
Research Third-Party Options: Examine reputable apps like Google Photos, Dropbox, or PhotoSync. Their trustworthy performance and intuitive interfaces make them worthy choices.
-
Install and Set Up App: Download the chosen app on both old and new iPhones from the App Store.
-
Follow On-Screen Instructions: Open the app and adhere to its instructions to initiate and complete the transfers.
-
Complete the Transfer: Depending on the app, transferring might employ Wi-Fi or cloud storage. Follow app steps for a successful transfer.
Third-party apps cater to those seeking flexibility or cross-platform compatibility, facilitating seamless photo movement. They often offer valuable additional features for backing up and organizing your photos.

Tips for Managing Photos on Your iPhone
Keeping your iPhone organized ensures it runs efficiently:
- Regularly back up photos to cloud services or external storage options.
- Remove duplicates or unwanted photos either manually or via apps.
- Categorize photos into albums for easy accessibility and viewing.
- Utilize the ‘Favorites’ option for swift retrieval of cherished pictures.
Conclusion
To sum it up, transferring your photos from one iPhone to another can be completed using several methods such as iCloud, AirDrop, iTunes, or third-party applications. Each option is tailor-made to accommodate diverse preferences, providing flexibility in terms of Wi-Fi availability, device proximity, and individual comfort. By following these strategies, you ensure seamless transfer of your treasured memories to your upgraded device. Select the option that aligns best with your requirements and enjoy reminiscing over your photos on your new iPhone.
Frequently Asked Questions
How can I check my iCloud storage before transferring photos?
To check your iCloud storage, go to Settings, tap your name, select iCloud, and you will see a breakdown of storage usage. Ensure enough space for the transfer.
Can I use AirDrop between different iPhone models?
Yes, AirDrop works between different iPhone models as long as both are using iOS 7 or later. Ensure both have AirDrop enabled and are in proximity.
What are the best third-party apps for transferring photos?
Recommended apps include Google Photos, Dropbox, and PhotoSync. They offer efficient photo transfers with varied features and can be found on the App Store.