Introduction
Swapping out your MacBook Pro hard drive can significantly enhance your machine’s performance. Whether you’re transitioning to a swift SSD or opting for a larger HDD, this guide will walk you through the seamless process. By following these steps, you’ll upgrade your device’s capabilities in no time.

Benefits of Replacing Your MacBook Pro Hard Drive
Upgrading your MacBook Pro’s hard drive offers numerous advantages. Shifting to an SSD can lead to noticeable speed improvements, cutting down boot and load times dramatically. For tasks like video production and gaming, this speed enhancement makes a substantial difference. If you choose an HDD, the additional storage is invaluable for handling larger data sets. Understanding these benefits prepares you for the steps ahead in this guide.

Preparing for the Replacement
Proper preparation is key to a successful replacement process.
Backing Up Your Data: Start by backing up your files using Time Machine or another reliable method. This crucial step protects against potential data loss during the transition.
Gathering the Right Tools: Assemble the necessary tools for the job—this includes Phillips and Torx screwdrivers and a spudger. Setting up your workspace in a static-free area prevents potential damage to your computer components.
With data secured and tools ready, you’re set to choose a compatible hard drive for your MacBook.
Selecting the Best Replacement Hard Drive
Choosing a suitable hard drive ensures satisfaction and compatibility with your MacBook Pro.
SSD vs. HDD: Pros and Cons: Consider opting for an SSD to gain speed, reliability, and reduced power consumption—all crucial for mobile computing. Conversely, HDDs can offer greater storage at a lower price point.
Ensuring Compatibility: Verify your MacBook Pro’s model specifications to choose a compatible drive. Whether you’re opting for a SATA or PCIe connection, ensure the drive fits your model’s requirements.
Once you’ve selected the ideal hard drive, the next stage is the actual replacement, which involves careful handling of your MacBook’s internal components.
Step-by-Step Hard Drive Replacement Process
These steps outline the exact process of replacing your hard drive in a MacBook Pro.
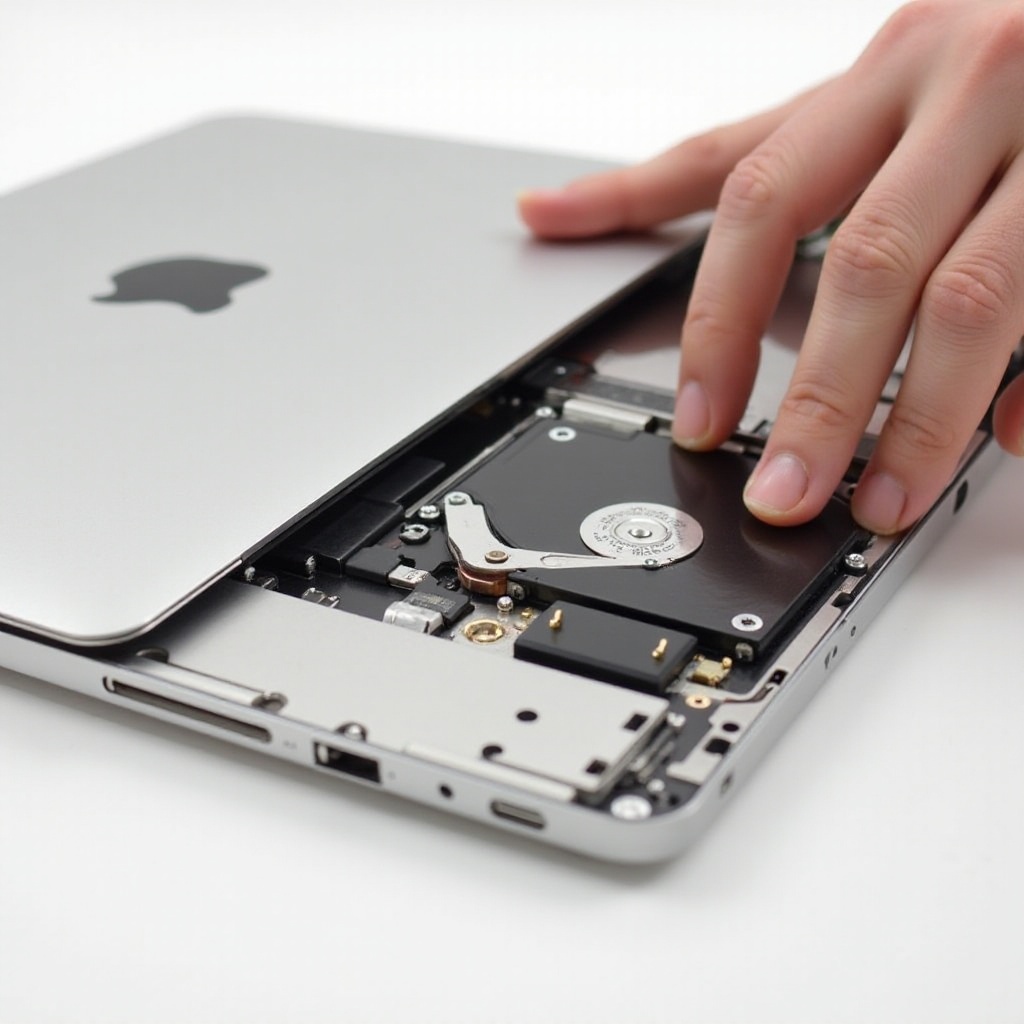
Disassembling the MacBook Pro: Turn off and unplug your MacBook Pro. Remove the screws from the bottom case and lift it to access the internals.
Removing the Old Hard Drive: Locate and remove the screws securing the existing hard drive. Carefully disconnect it from its cable.
Installing the New Hard Drive: Attach the new drive to the cable and position it securely in the drive bay. Reattach any brackets and tighten all screws.
Reassembling Your MacBook Pro: Secure the bottom case with screws, ensuring everything is snug. You’re ready for the setup phase.
Successfully completing the physical setup, it’s time to configure your new drive for optimal use.
Setting Up Your New Hard Drive
Configuring your new hard drive is essential for smooth operation.
Restoring Your Data from Backup: Boot your MacBook Pro and use your previous backup to restore data through Time Machine or an alternative method. Follow prompts for effective data migration.
Optimizing Drive Performance: Utilizing Disk Utility, perform routine checks and run First Aid to maximize drive health and performance. Ensure macOS is up to date for the best operation.
Having set up your drive, be ready for possible issues that might arise and how to troubleshoot them effectively.
Troubleshooting Common Issues
While generally straightforward, some users may face issues during or after the installation.
Recognizing Drive Detection Problems: If your MacBook Pro doesn’t recognize the new drive, check all connections. Restart your device and consider resetting SMC and NVRAM.
Resolving Performance Hiccups: If performance lags, ensure no new software conflicts exist and your system is fully updated. Use Disk Utility to solve minor glitches.
Successfully resolving issues will enhance your MacBook Pro’s life and performance, leading us to the conclusion on improvements and your next steps.
Conclusion
Replacing your MacBook Pro hard drive is a strategic upgrade that boosts your device’s speed and storage capacity. By following this comprehensive guide, you ensure a hassle-free replacement process. Upgrading to a more efficient device can lead to enhanced productivity and satisfaction, whether you’re a tech enthusiast or a first-time upgrader.
Frequently Asked Questions
How long does it take to replace a MacBook Pro hard drive?
Typically, the process takes 1-2 hours, depending on your familiarity with the disassembly steps.
Can I replace the hard drive on any MacBook Pro model?
Most MacBook Pro models before 2016 allow upgrades, while newer models with soldered storage cannot.
Is it worth upgrading my MacBook Pro with an SSD?
Yes, upgrading to an SSD can significantly enhance speed and reliability, making it a valuable investment.